DIY Firefighter Birthday Sign with Helmet Hooks
This post may contain affiliate links, meaning I get a commission if you decide to make a purchase through my links, at no cost to you. Please read my terms of use policy for more info.
If you're planning a firefighter-themed birthday party, this DIY sign is a perfect addition! Not only is it a fun way to display fire helmets for party guests, but it also makes a great photo backdrop. You can build it using half of a standard 4x8’ plywood sheet (left over from our DIY burning building game), or make a wider version using the full sheet. This project is beginner-friendly and totally customizable—even without fancy tools.
Supplies Needed
Half a 4x8’ plywood sheet (2x8’) or a full 4x8’ sheet if you want a wider sign. Check out this post on creating a Burning Building Game with the other 2x8’ half!
Optional: 2x4 planks (17 ft total) for creating a sturdy base
Hooks for helmets (these worked great)
Kids' plastic fire helmets (we used this 12-pack)
Tools & Other Supplies:
Black paint (I used 1 qt of Behr’s Jet Black in flat)
White vinyl & Cricut or white paint for hand lettering
Glue gun (or wood glue)
Small paint roller
Pencil
Screws & drill
Instructions
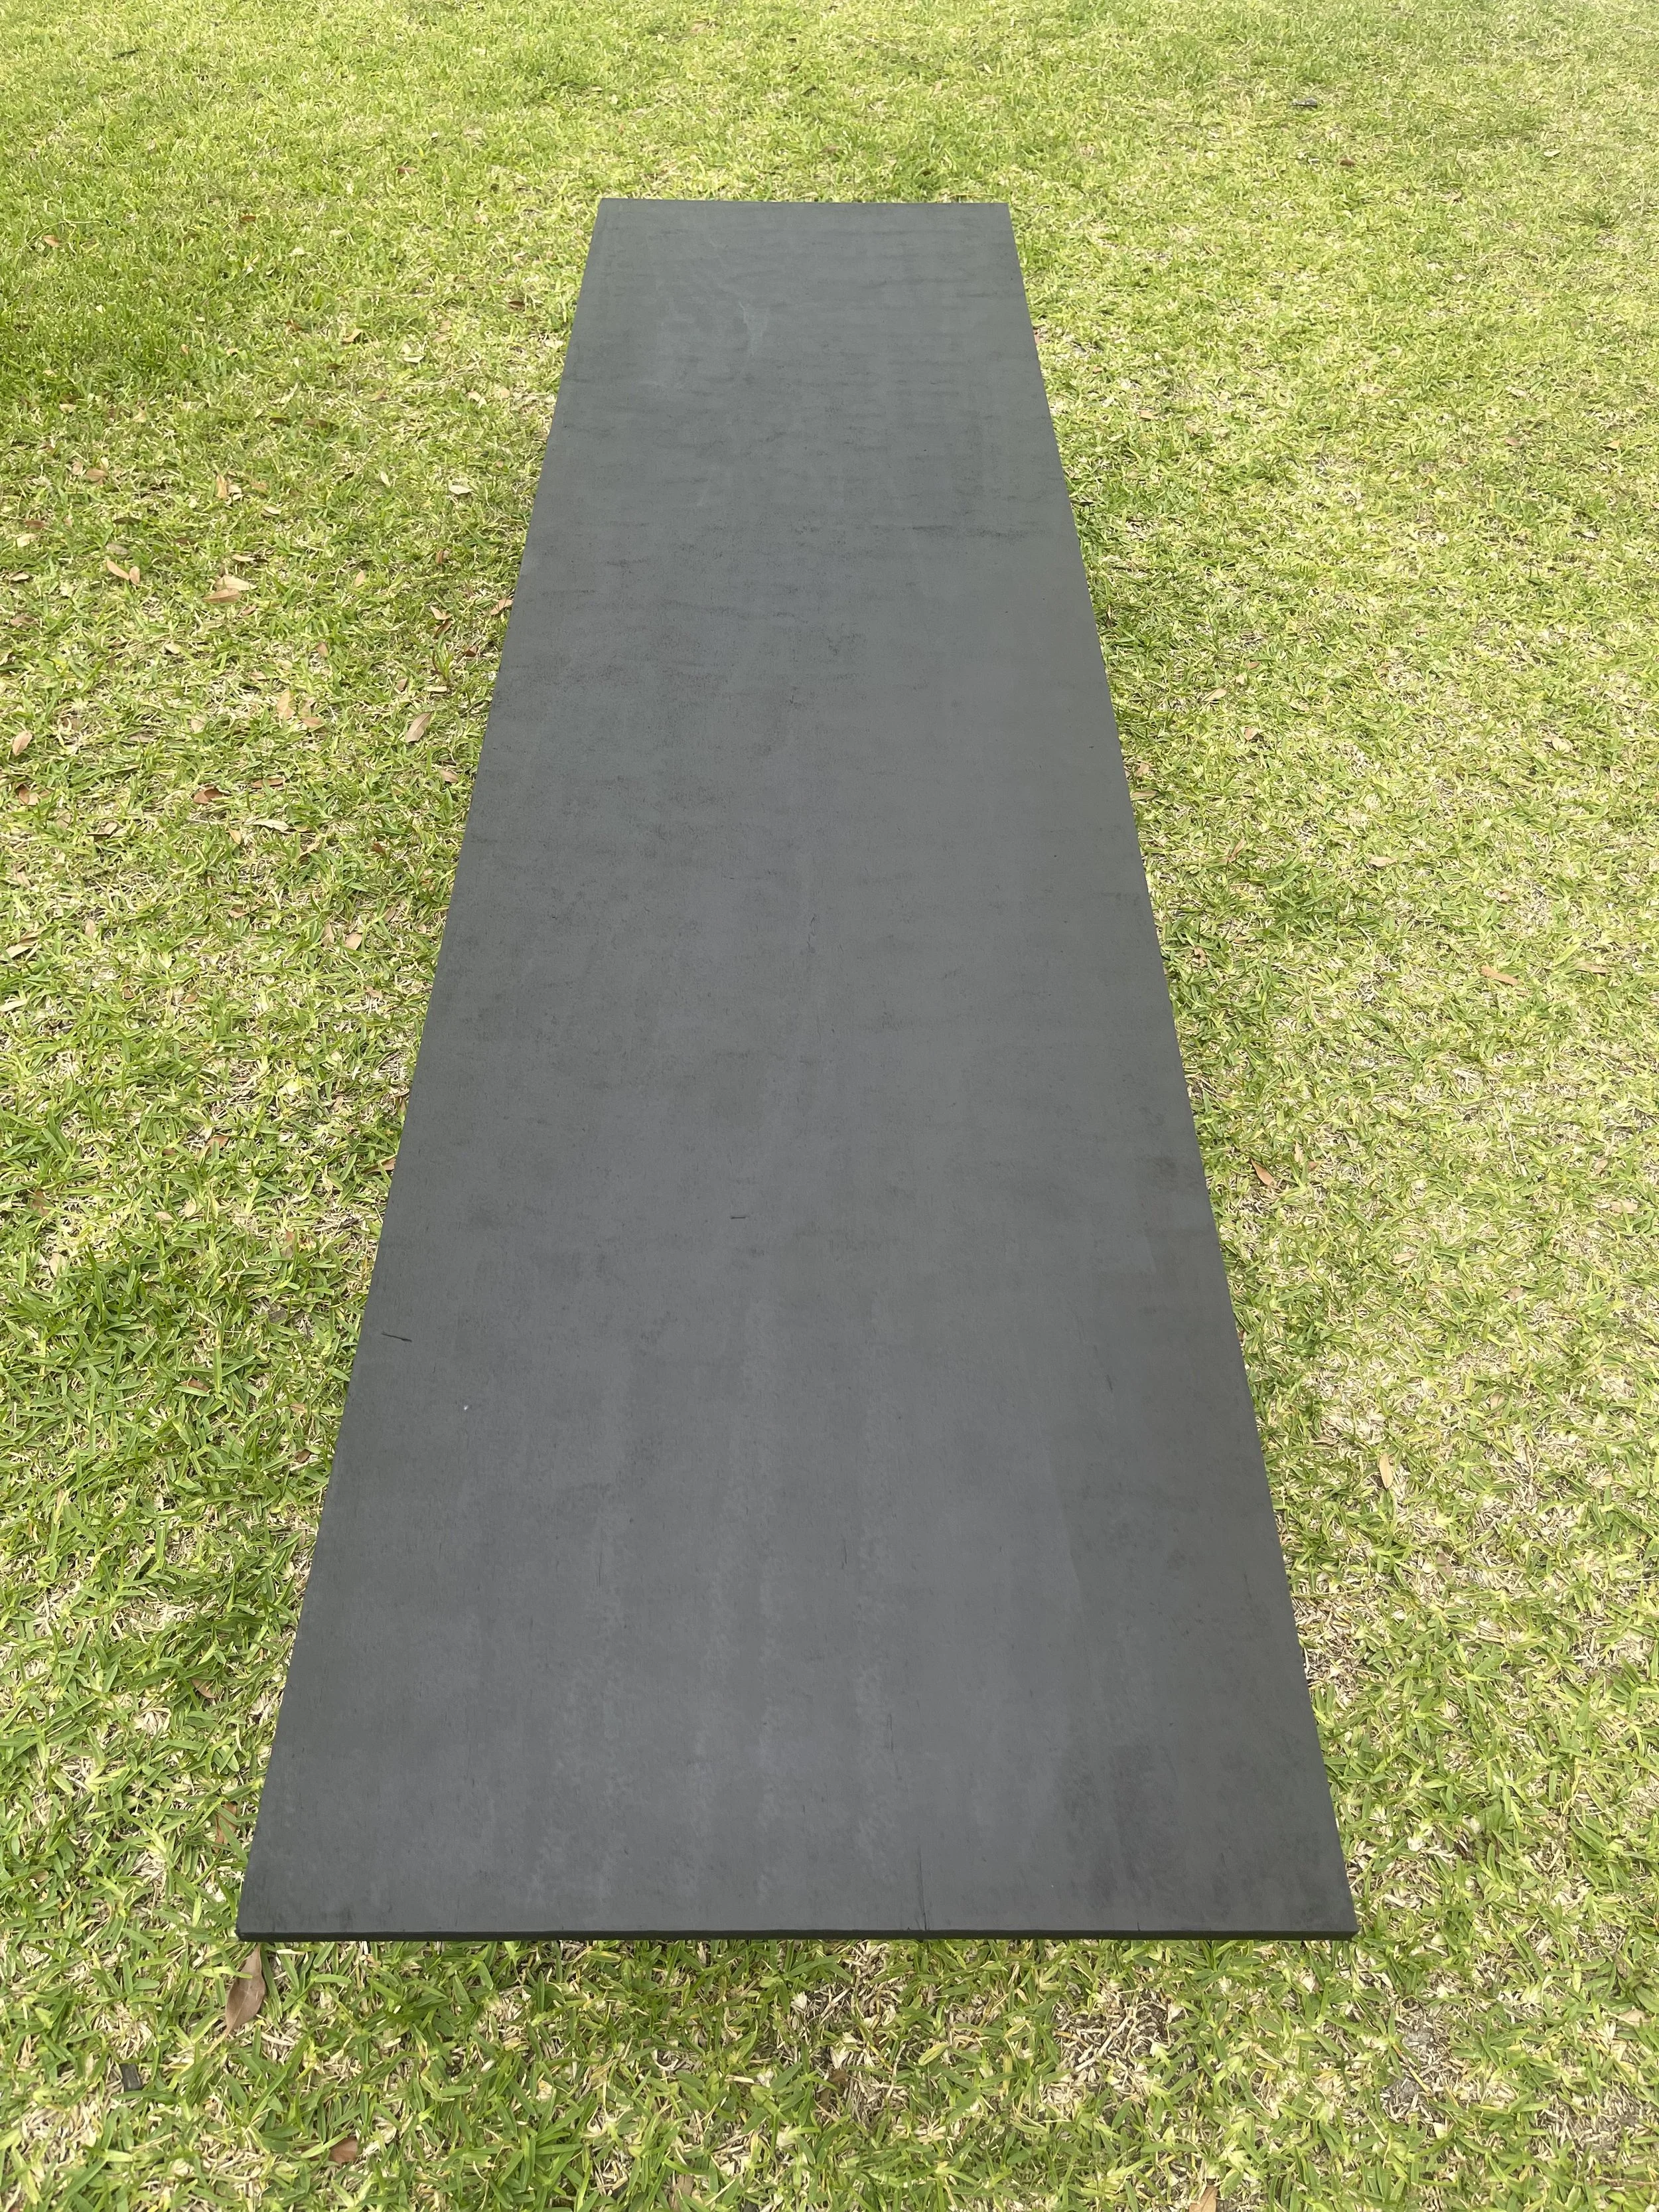
Step 1: Paint the Board
Prop your plywood off the ground to easily paint the edges.
Using a small roller, apply black paint to the entire surface and sides.
Let dry and apply a second coat.
Step 2: Install the Hooks
Once dry, use your yardstick and pencil to mark hook placement.
You'll make 4 rows of hooks, 2 hooks per row.
Start your first row 14” from the bottom, then space each subsequent row 13” apart.
Each hook should be 6.5” in from the edge of the plywood.
Mark lines using the yardstick for even spacing, then drill and screw in hooks.
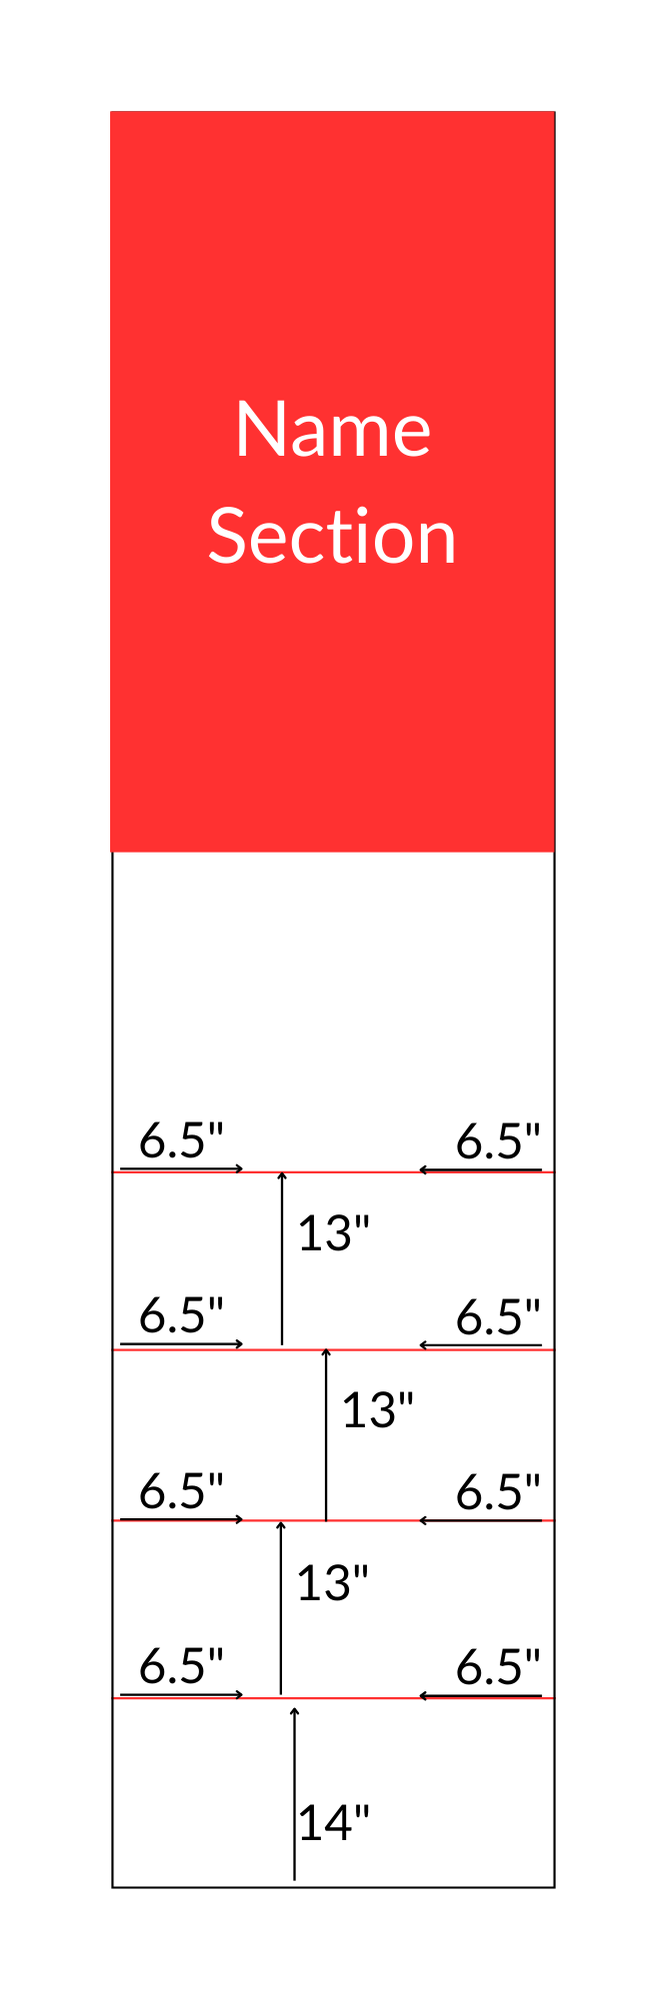
I measured each row’s height by making tick marks on each edge of the plywood, then connecting them using the yard stick as a straight edge, ensuring they are level (shown as red lines on the diagram).
Erase any visible pencil marks when you're done.
· Here is a diagram:
Step 3: Add Lettering
Option 1: Use a Cricut
· Cut white vinyl letters using your Cricut (here’s the Canva template I used). Feel free to access it as a template and create with your own name and age.
I used [this] portable laser level to ensure the letters stayed straight.
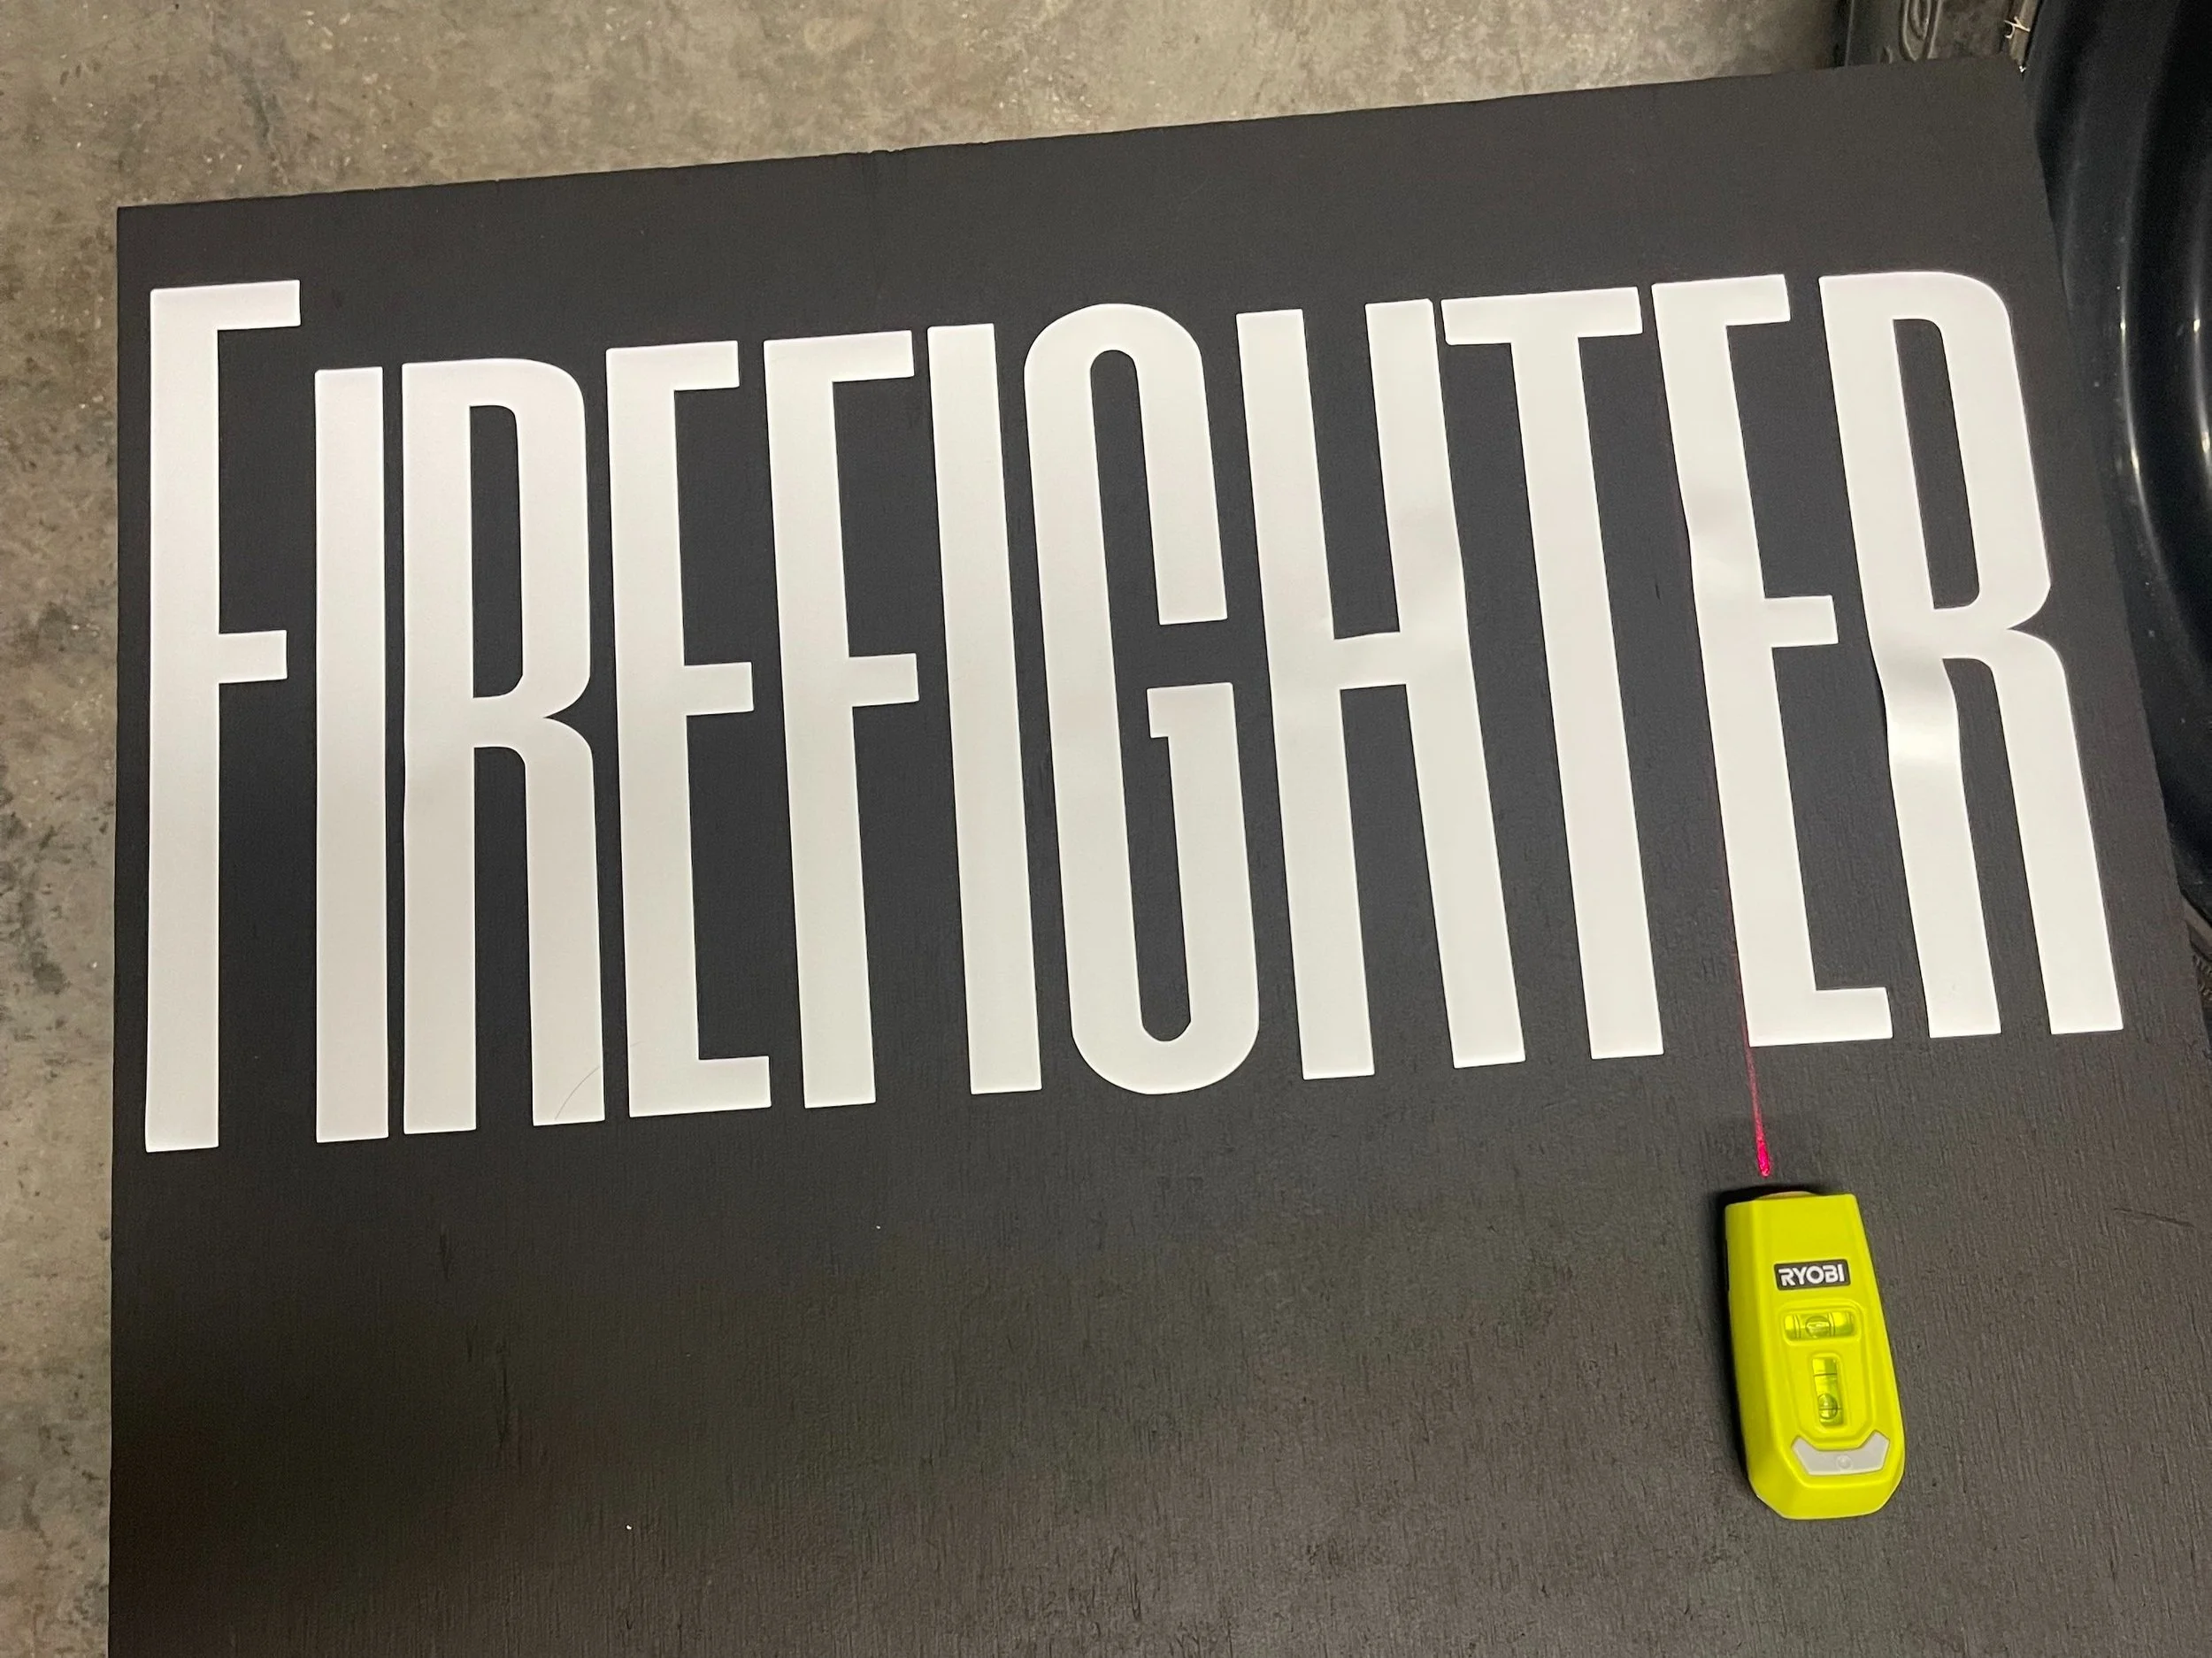
Since vinyl doesn't stick well to painted wood, use hot glue or wood glue to secure letters.
Option 2: Hand Paint
If you're comfortable with freehand painting, use white paint to add your text.
Lettering Layout:
Divide the board into three 13" tall sections (2 ft wide).
Row 1: "Firefighter"
Row 2: Child’s Name
Row 3: “is [age]!”
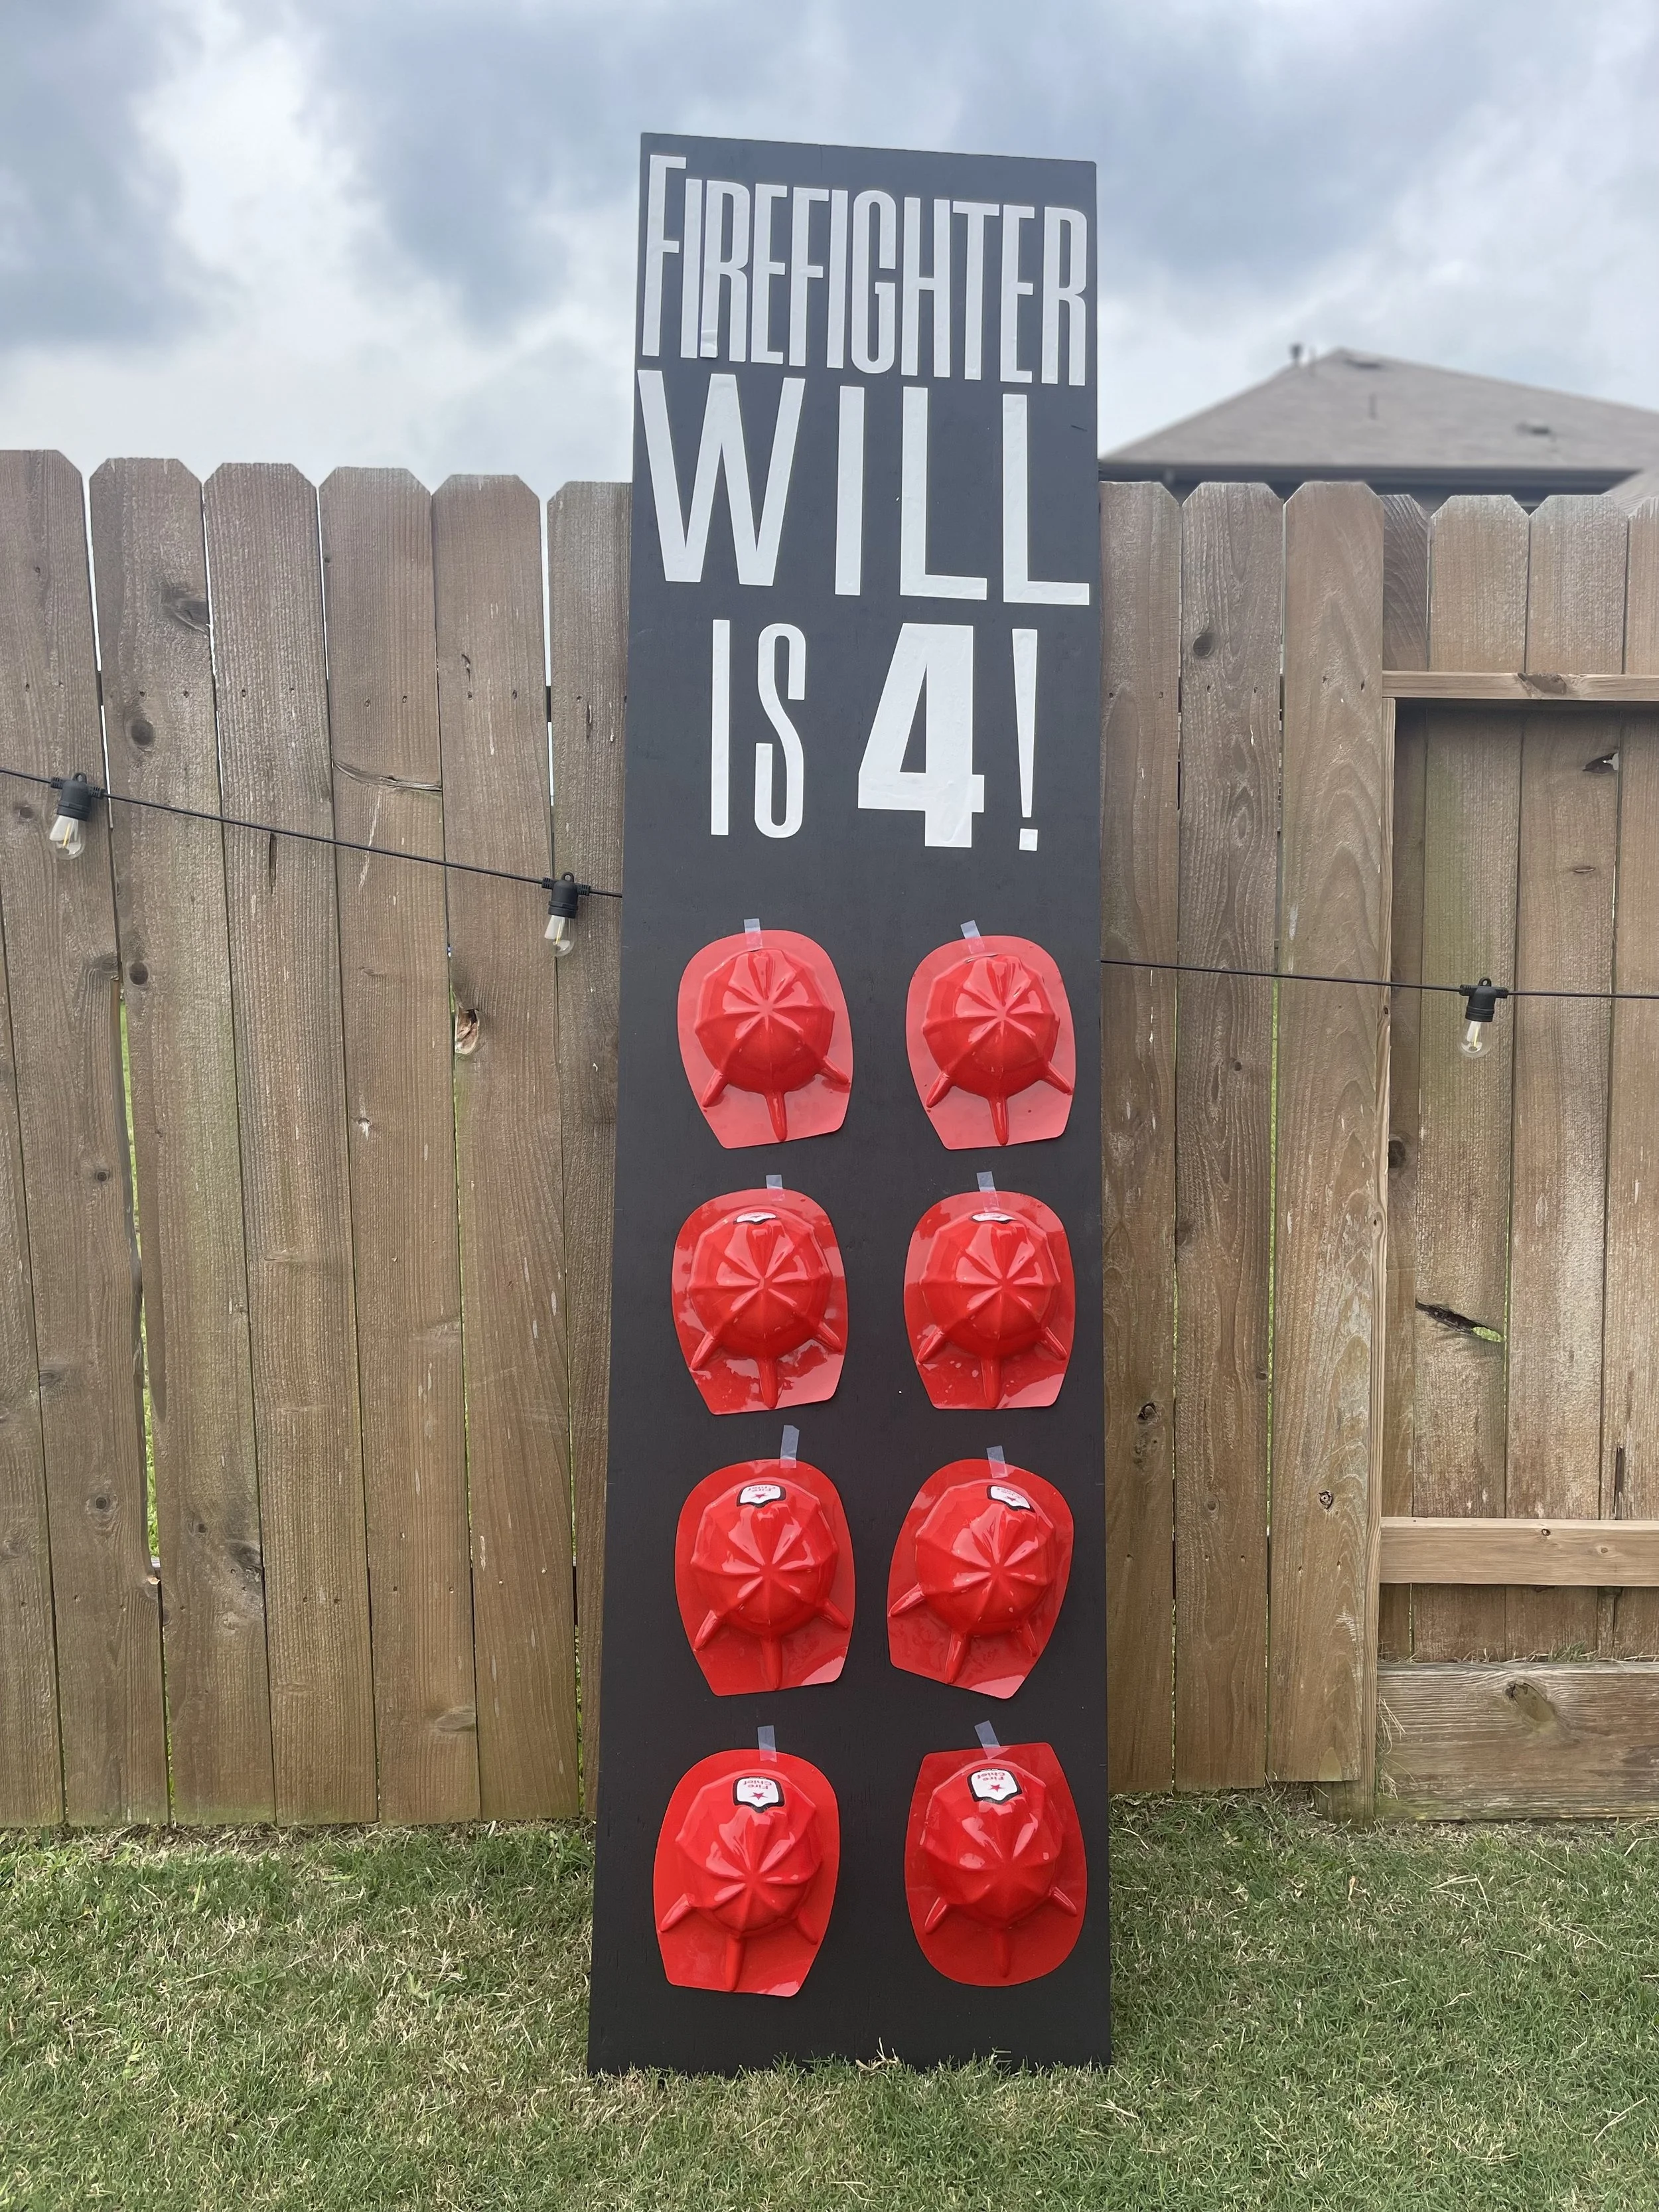
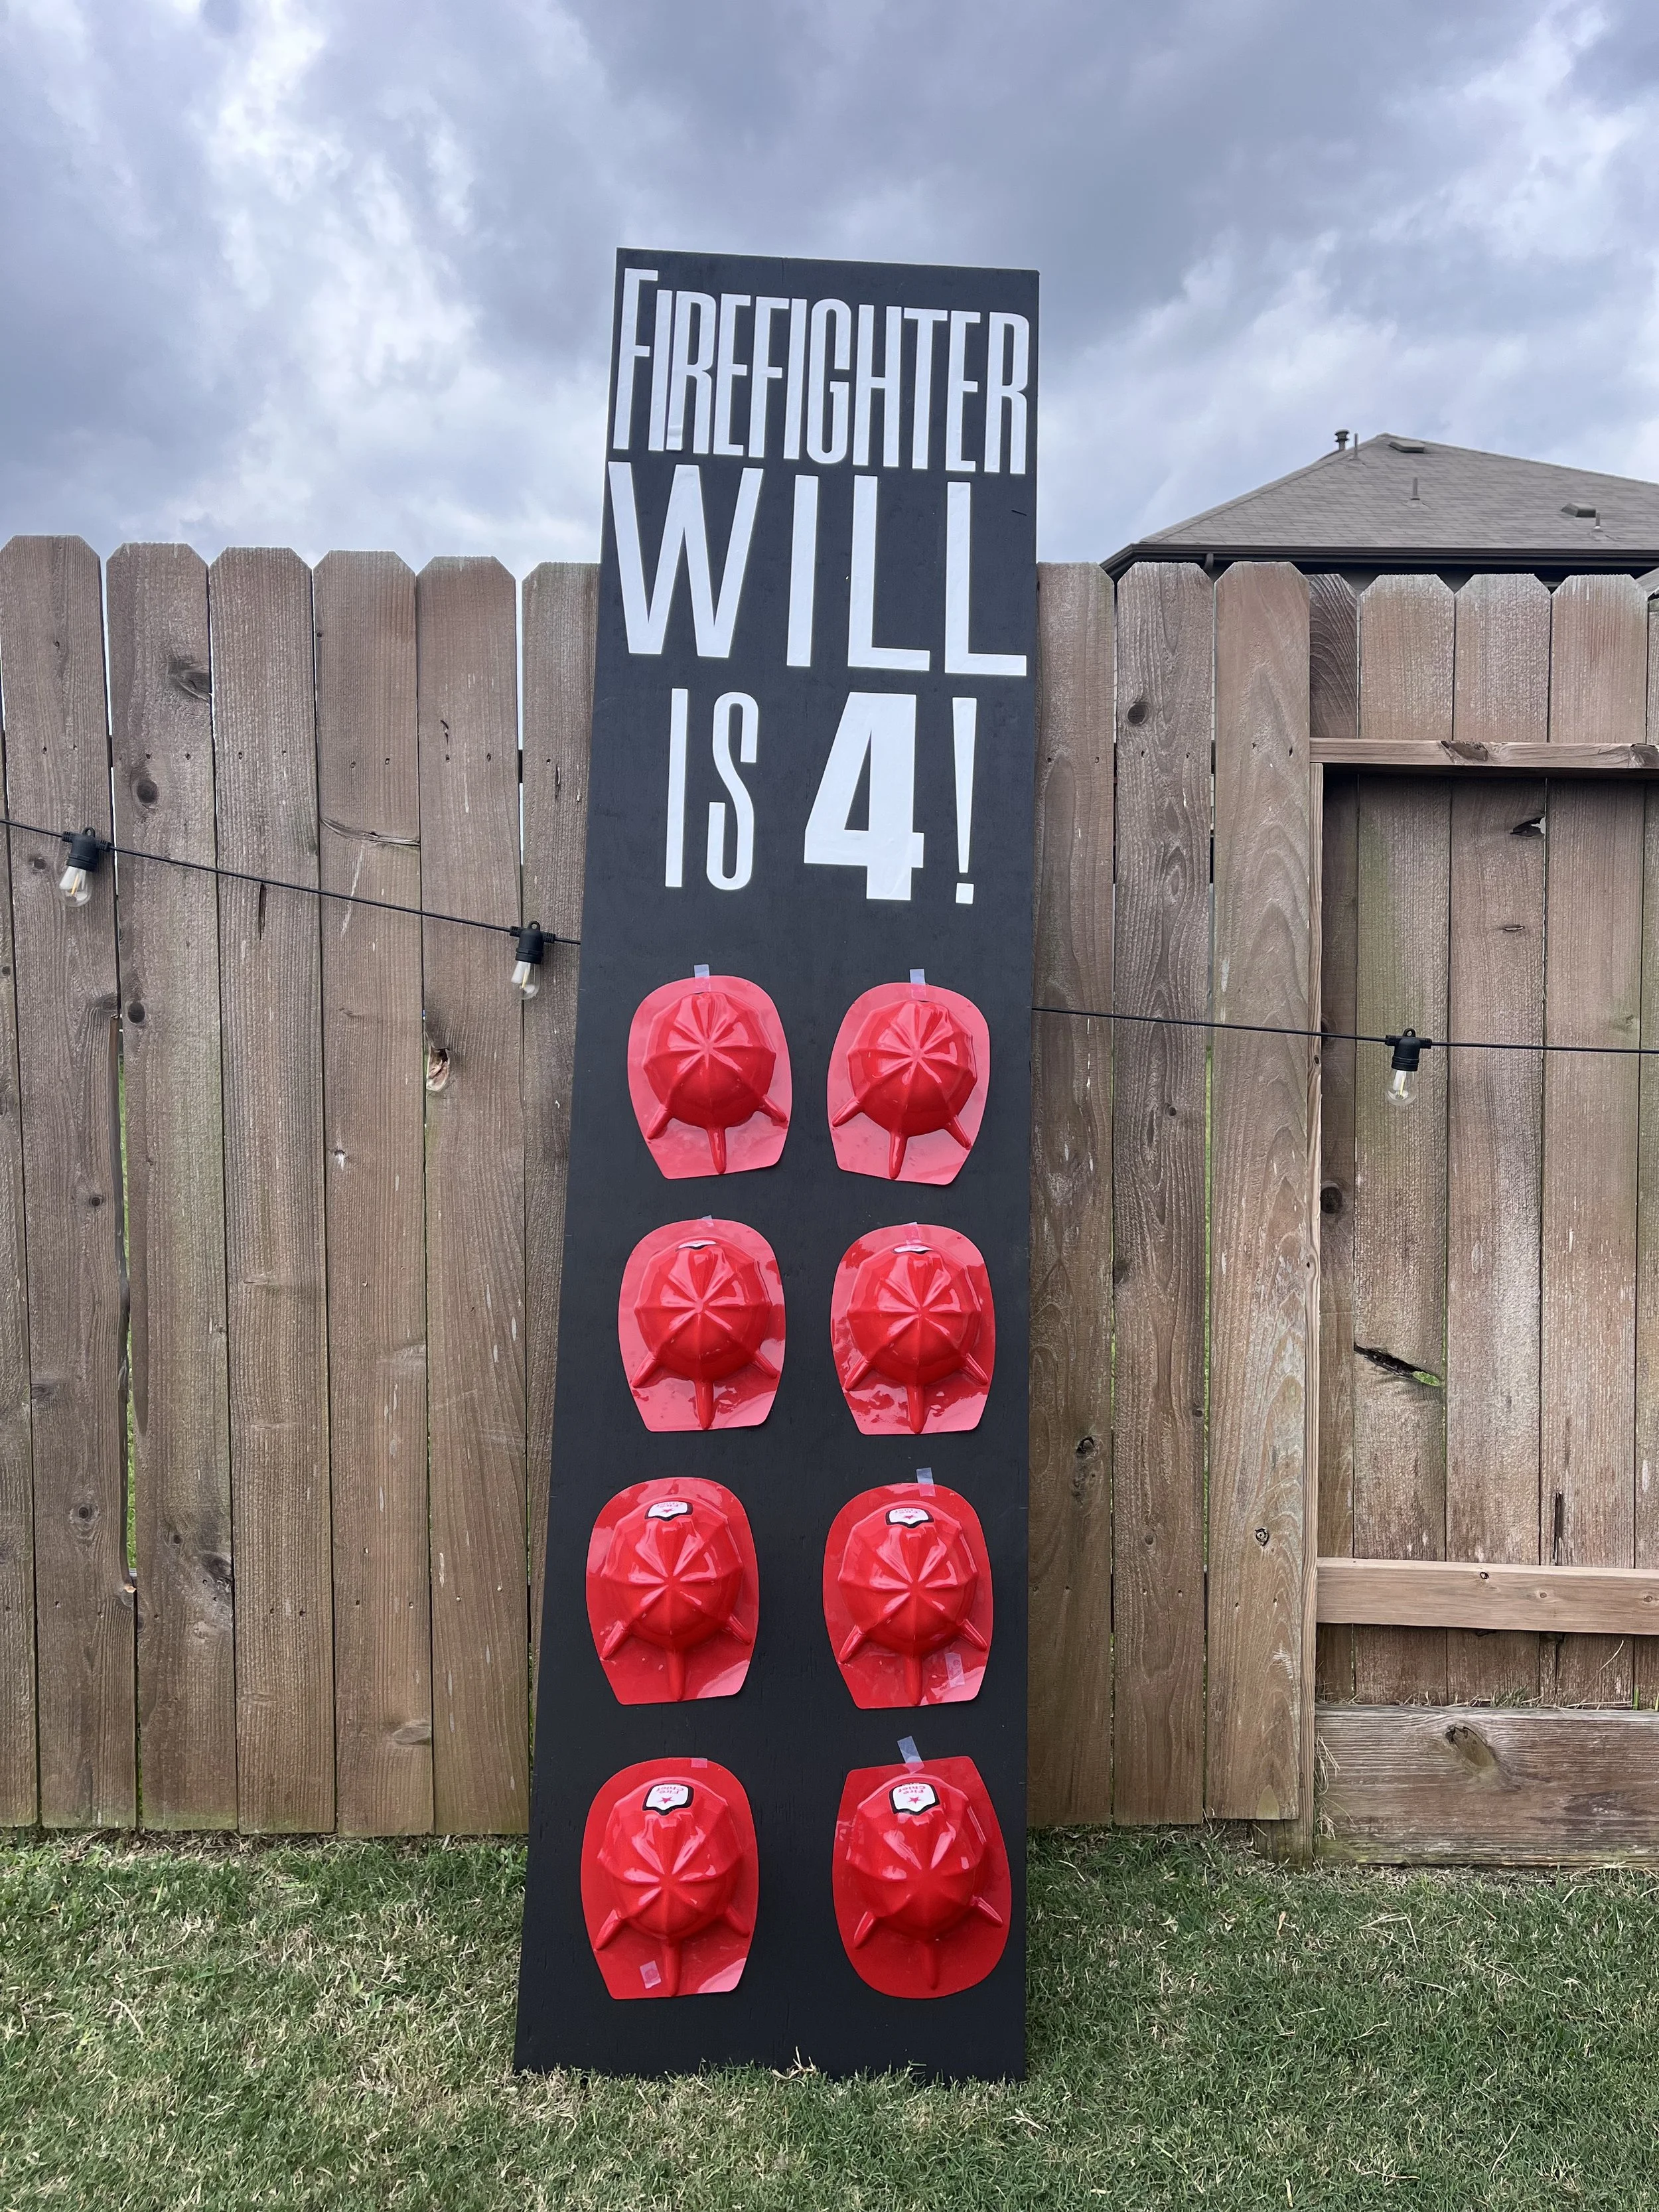
Here’s another look at the final product:
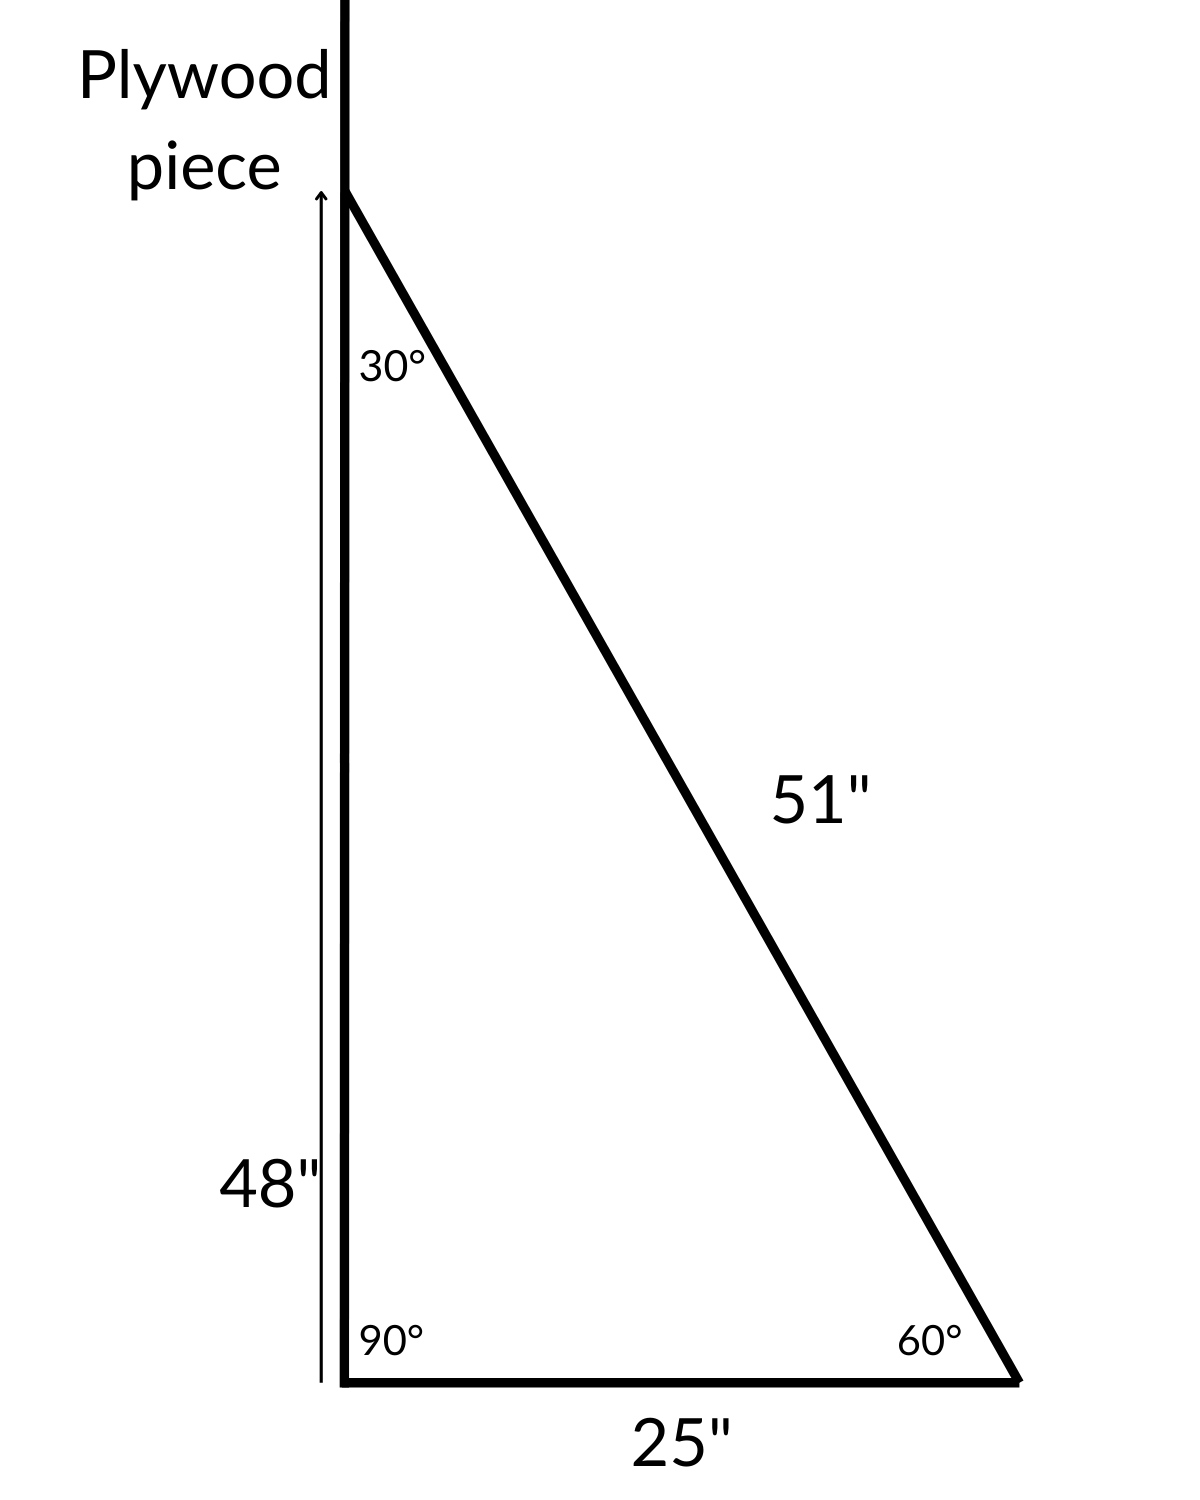
Step 4: — OPTIONAL — Build and Attach the Base
If you want the sign to be a stand alone piece, add a support frame! I propped ours up against our backyard fence and it did not move an inch, even with it being a windy day (we put a little piece of scotch tape to hold the hats in place) and kids getting their hats. If you choose the base, your final set up attached to the plywood will look like this from the side:
Cut your 2x4s:
Two pieces at 2 ft
Two pieces at 25 in
Two pieces at 51 in
Assemble the base:
Use the 2 ft and 25 in pieces to build a rectangular frame for the base.
Attach this frame to the back bottom edge of your plywood. One of the 2 ft boards should sit flush against the plywood.
Angle cuts for support:
On each 51" piece, cut one end at a 30° angle and the other at 60°.
Attach the angled pieces from halfway up your plywood board to the base frame.
Easiest method: use a pocket hole jig like this one.
No jig? You can carefully hollow a small notch with your drill to guide your screw in (this is fine for short-term use).
Final Thoughts
This firefighter birthday sign was a huge hit at our party—both functional and adorable! It helped organize party hats and made for an unforgettable photo op. Whether you go the Cricut route or hand-paint the lettering, the end result is sure to impress. Bonus: you can repurpose it as bedroom decor or save it for future birthdays. Happy building—and happy celebrating!